ArcGIS QuickCapture
Unfortunately, this app does not provide a built-in NTRIP client to access and relay RTK corrections to the FPX.
Additionally, this app can't identify the FPX as a Bluetooth device. Luckily, we have a work around for this type of situation.
-
Utilize a WiFi network connection. The FPX features an internal NTRIP client, which can be utilized with internet access from a WiFi network.
-
This also includes utilizing the mobile device as a cellular hotspot for the WiFi network.
ArcGIS QuickCapture is a popular offering from Esri that works well with SparkPNT products.
If users cannot connect to the FPX over Bluetooth, then
ArcGIS QuickCapture connects to the RTK device over TCP. In other words, the RTK device needs to be connected to the same WiFi network as the device running QuickCapture. Generally, this is an iPhone or iPad operating as a hotspot.
The iOS hotspot defaults to 5.5GHz. This must be changed to 2.4GHz. Please see Hotspot Settings.
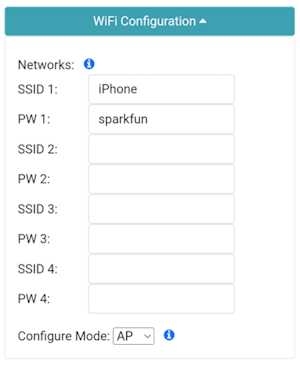
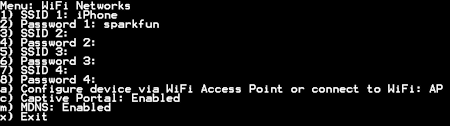
The RTK device must use WiFi to connect to the iPhone or iPad. In the above image, the device will attempt to connect to iPhone (a cell phone hotspot) when WiFi is needed.

Next, the RTK device must be configured as a TCP Server. The default port of 2948 works well. See TCP/UDP Menu for more information.

Once the RTK device connects to the WiFi hotspot, its IP address can be found in the System Menu. This is the number that needs to be entered into QuickCapture. You can now proceed to the QuickCapture app to set up the software connection.
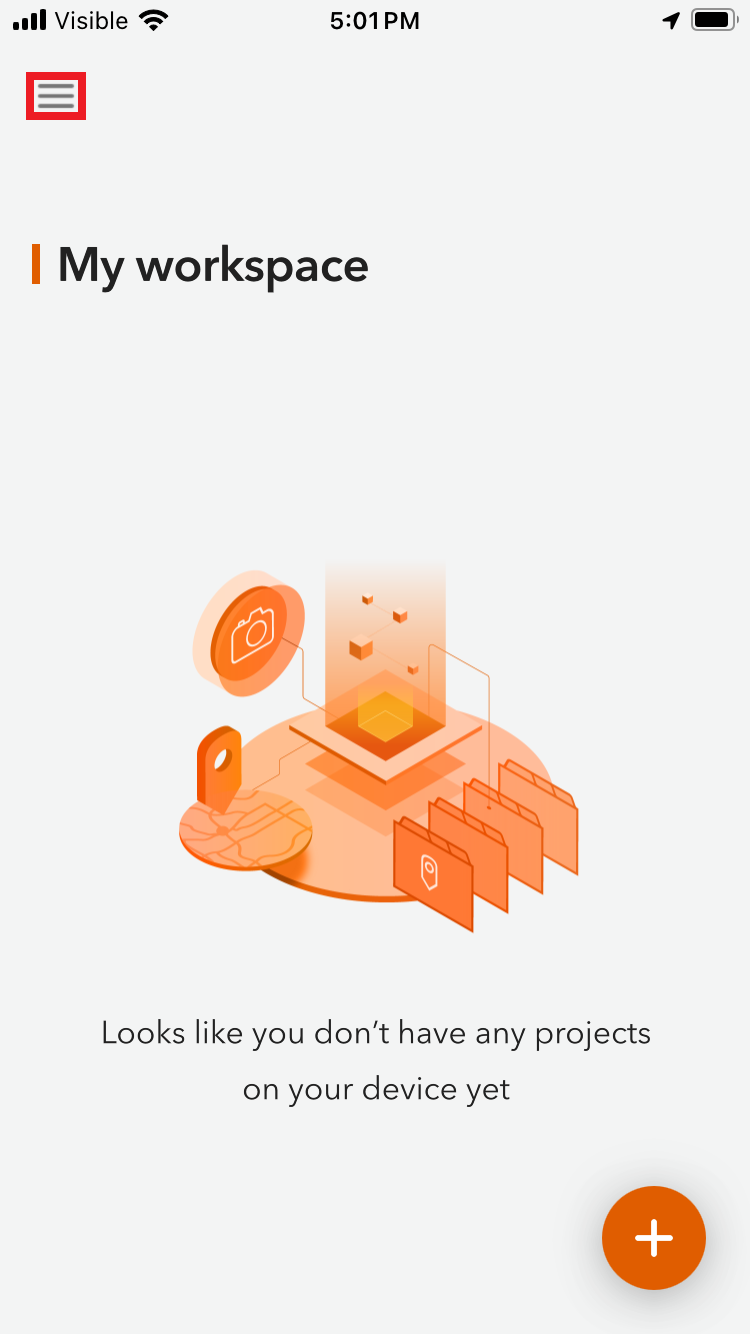
From the main screen, press the hamburger icon in the top left corner.
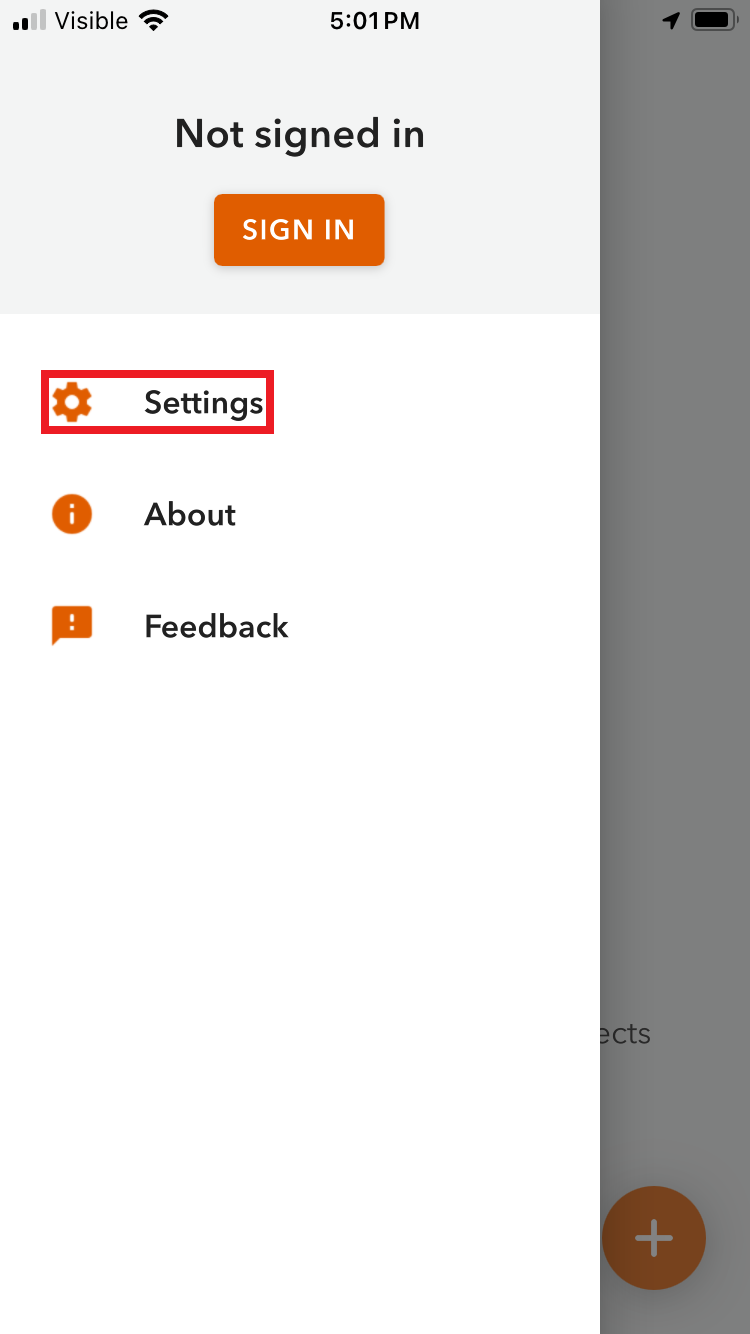
Press the Settings button.
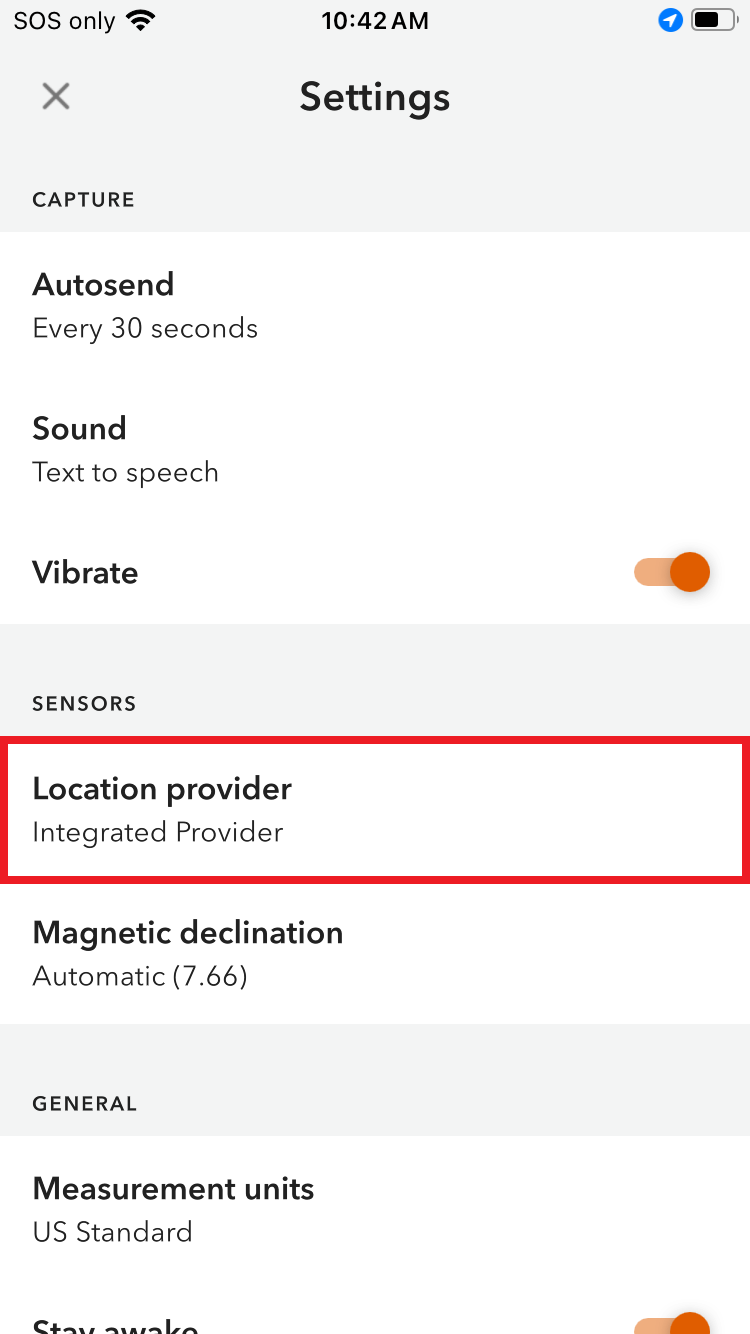
Select the Location Provider option.
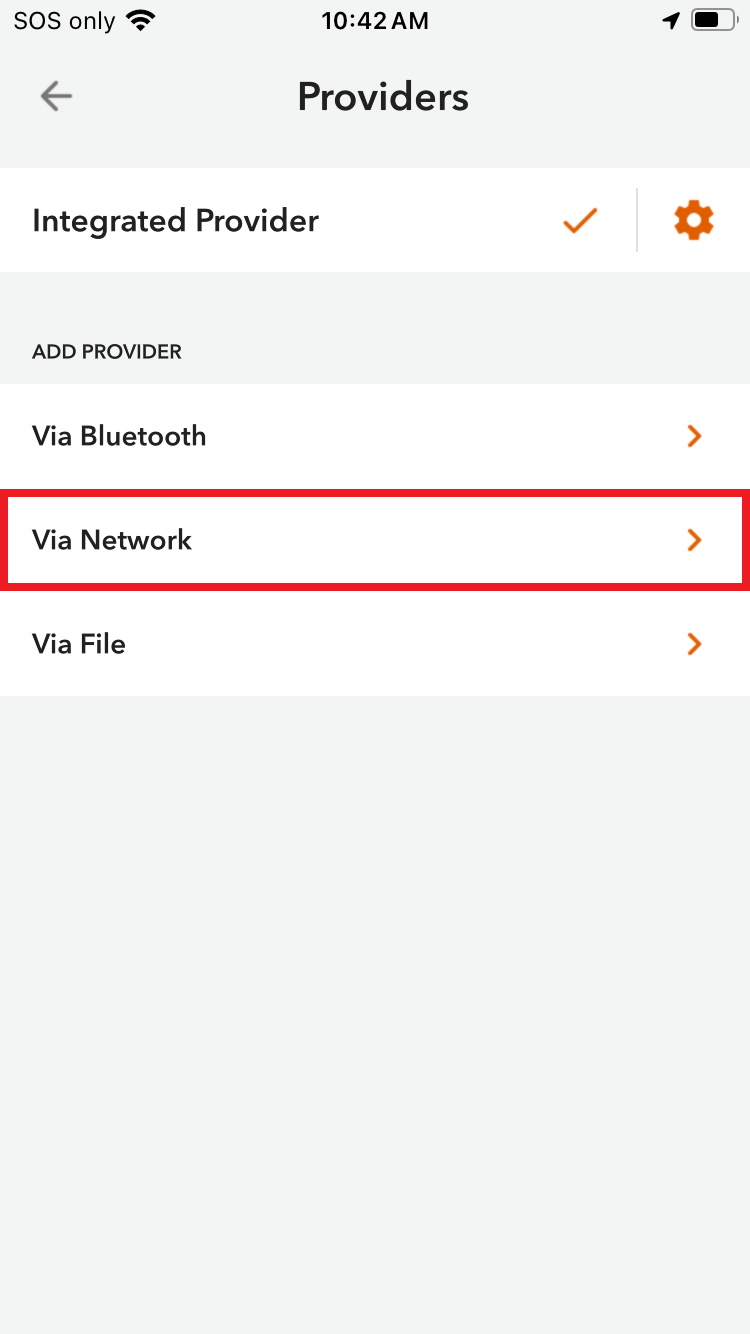
Select Via Network option under Add Provider.
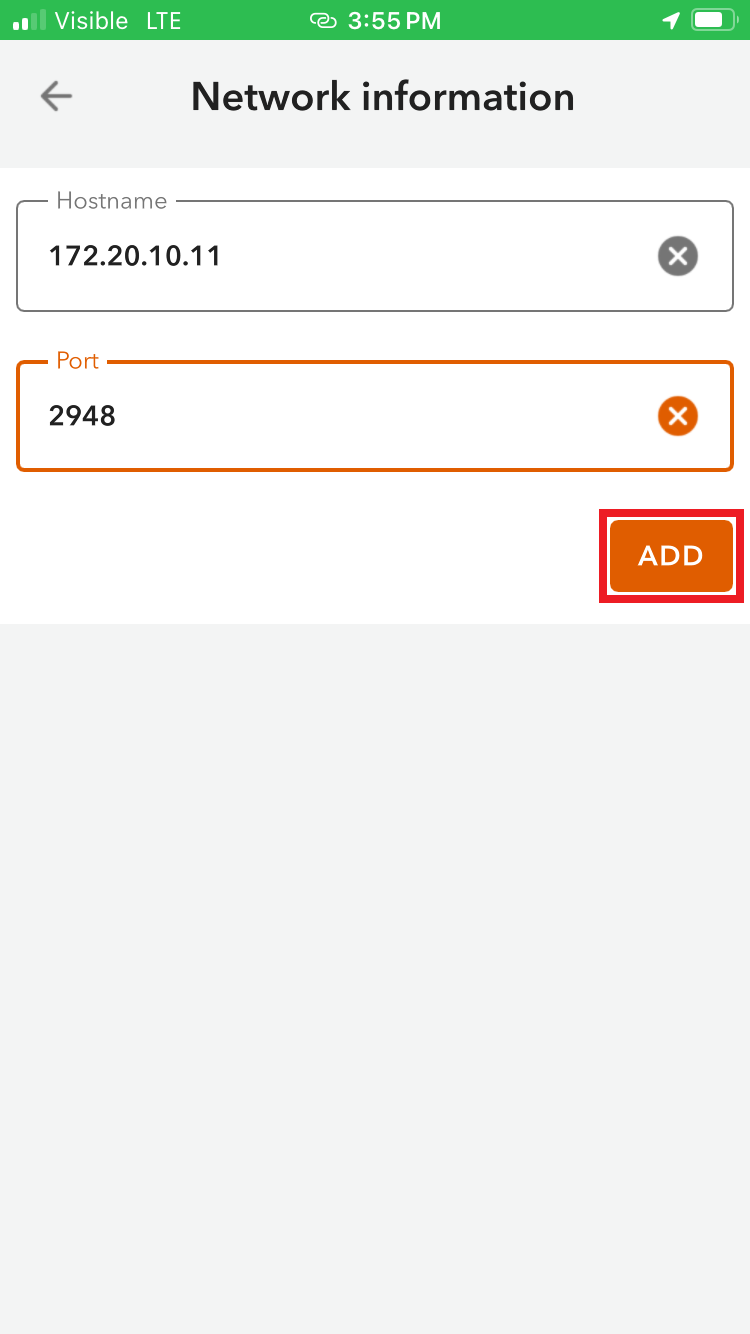
Enter the IP address and port previously obtained from the RTK device and click ADD.
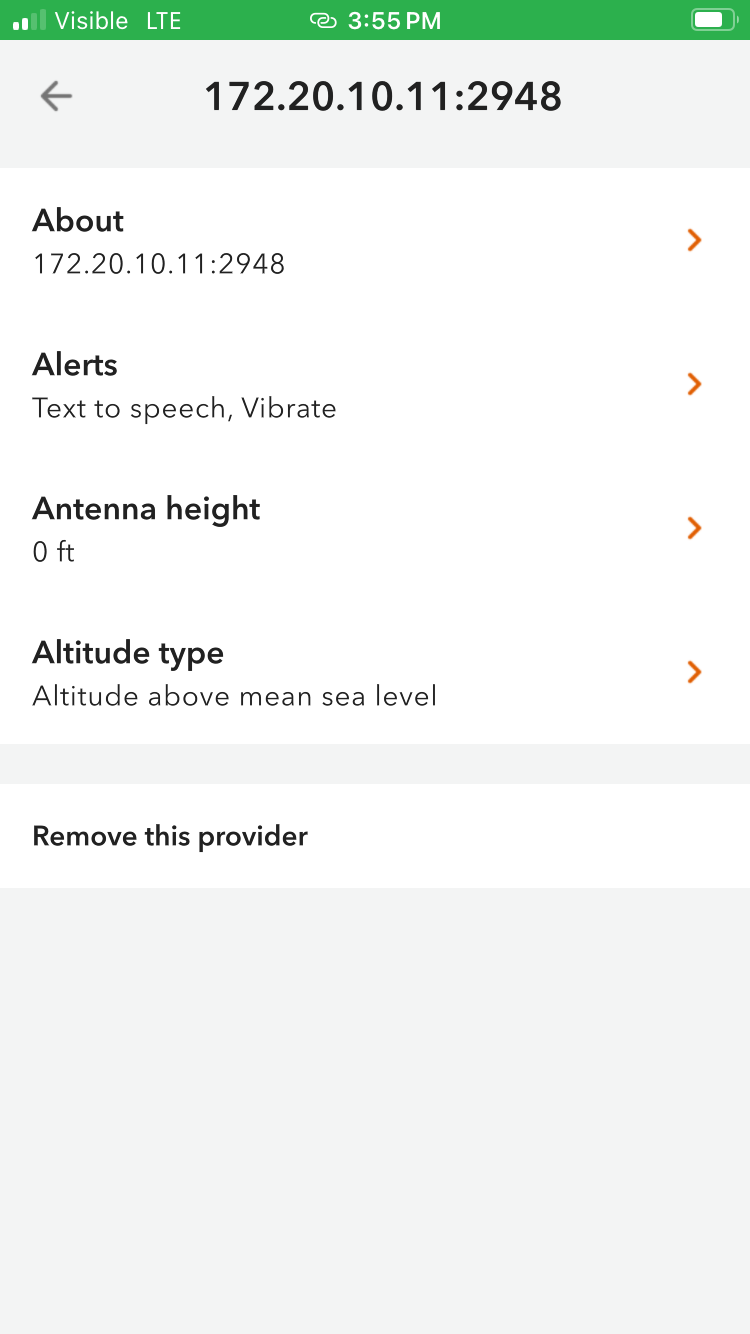
From here, users can provide additional configurations for the connection. Once done, click on the back arrow to return to the settings menu.
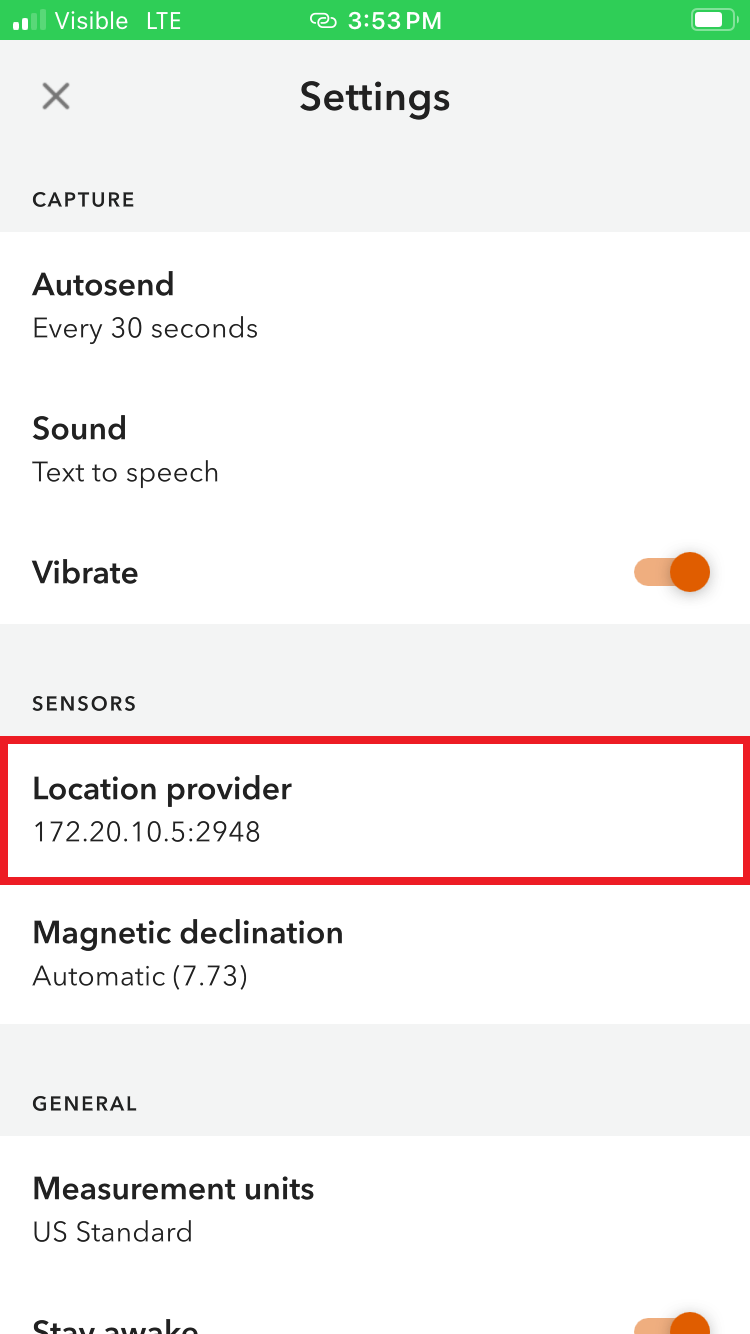
That provider should now be shown connected.
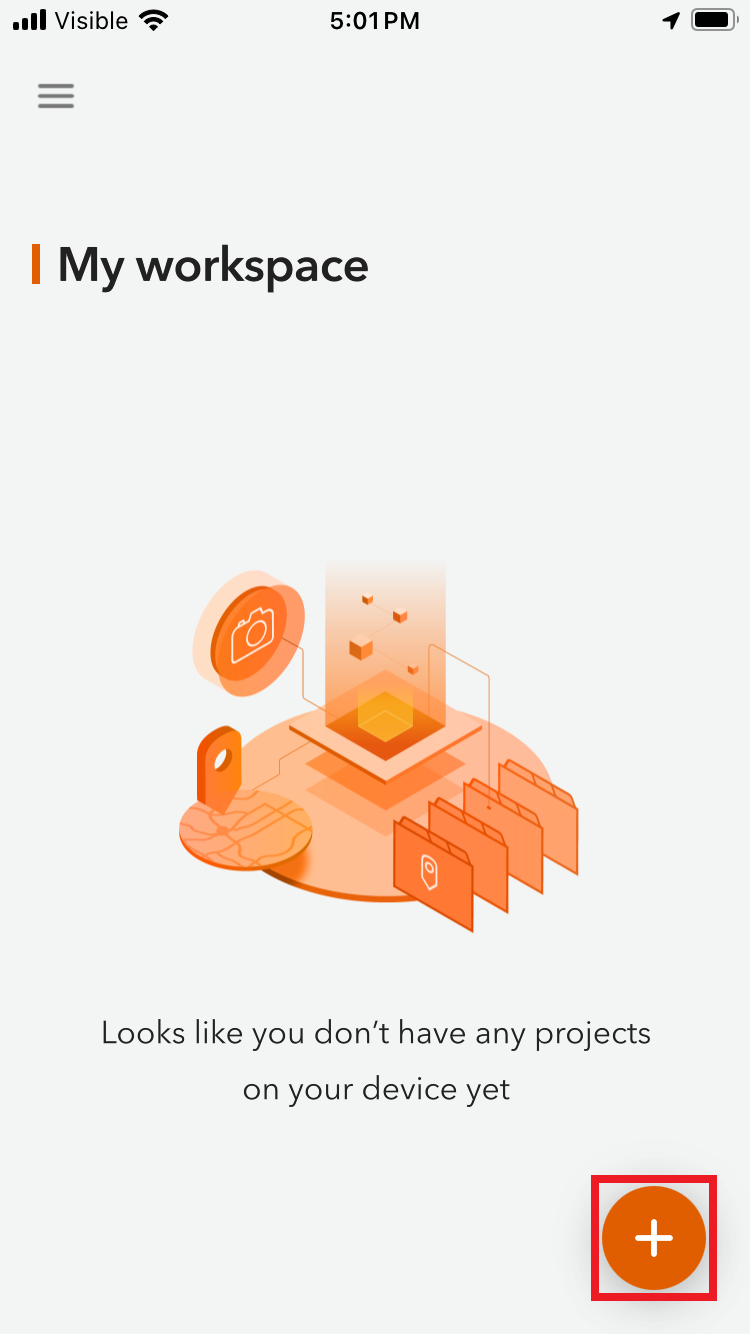
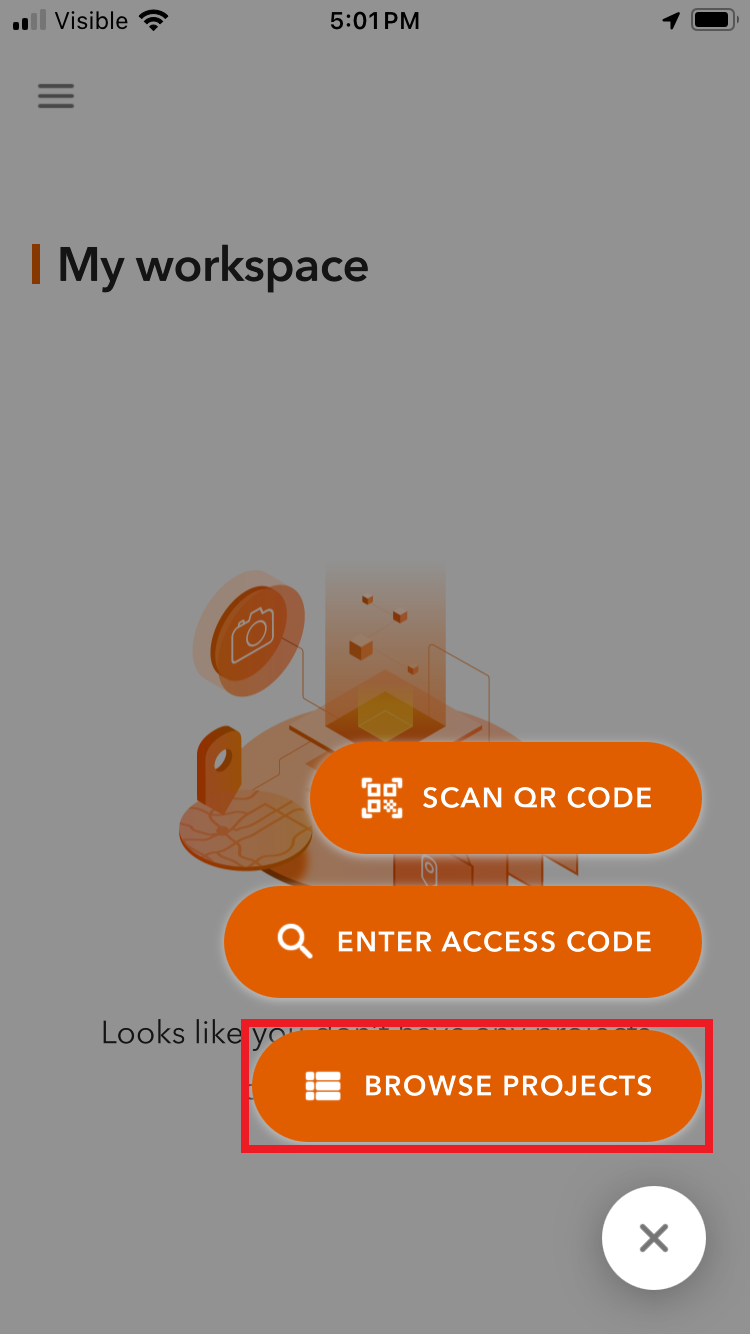
From the main screen, click on the plus icon (+) in the lower left corner and then BROWSE PROJECTS.
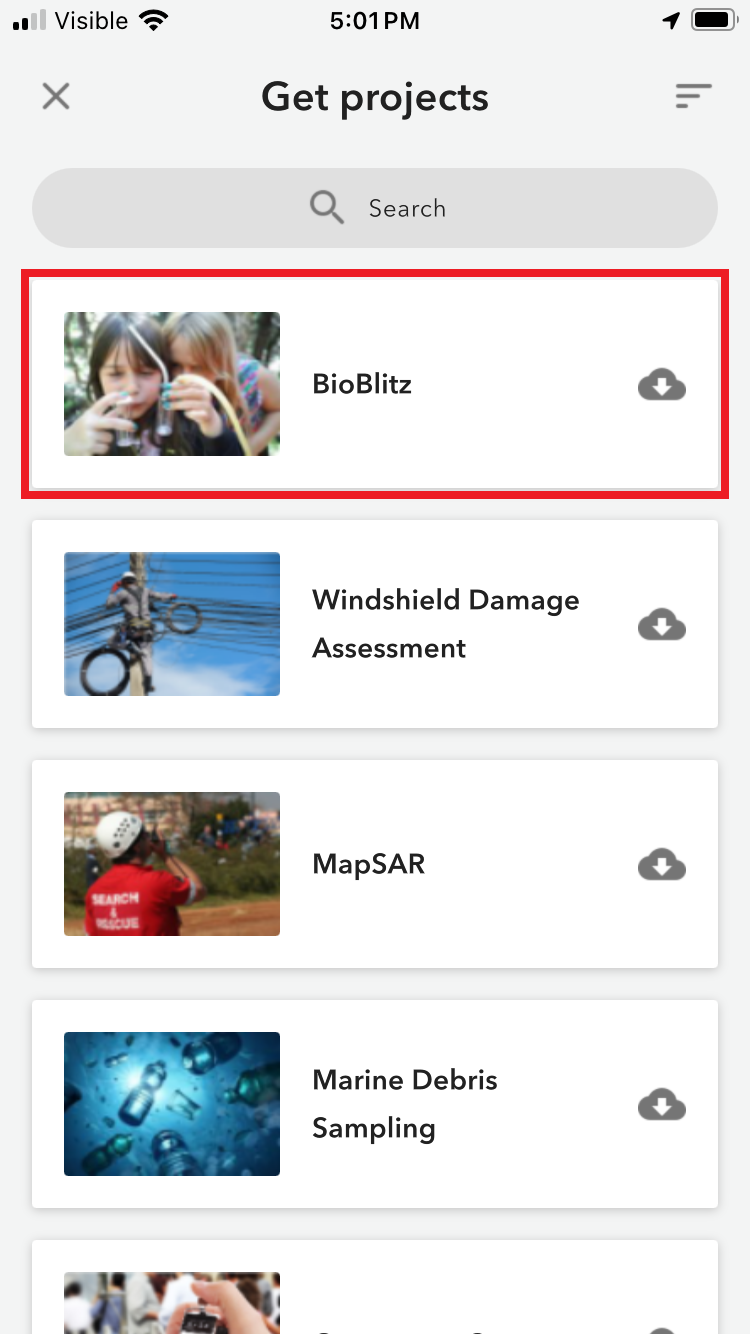
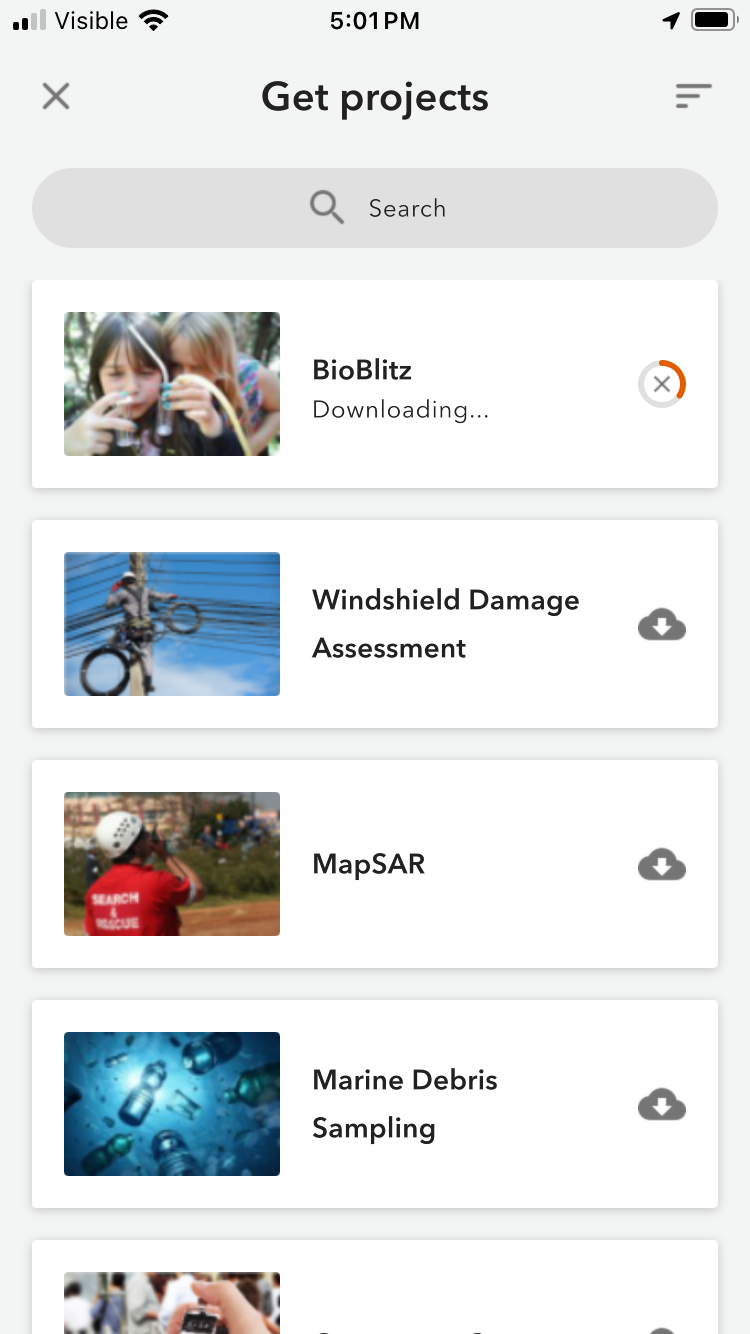
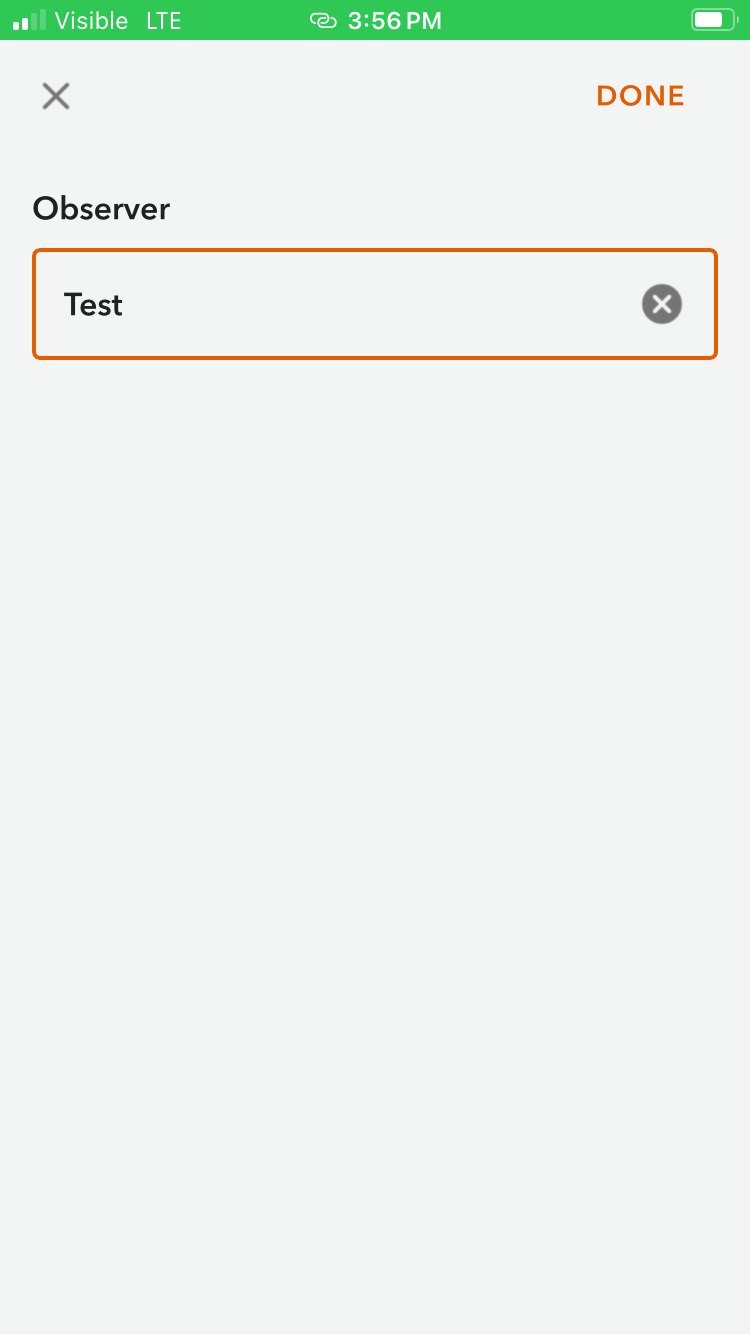
For this example, add the BioBlitz project. When first opening this project, users will be prompted for an Observer name.
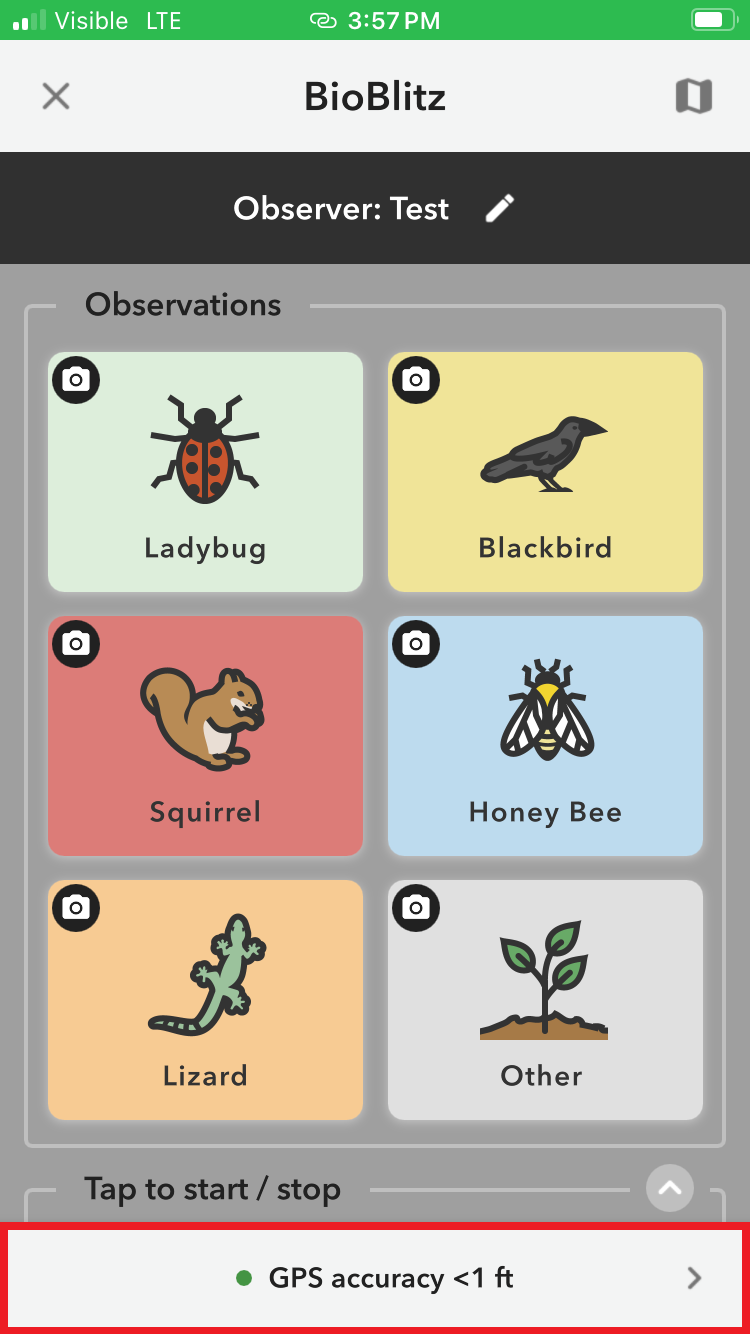
Above, we can see the GPS accuracy is better than 1ft. To verify the status of the position indicator, click on the button.
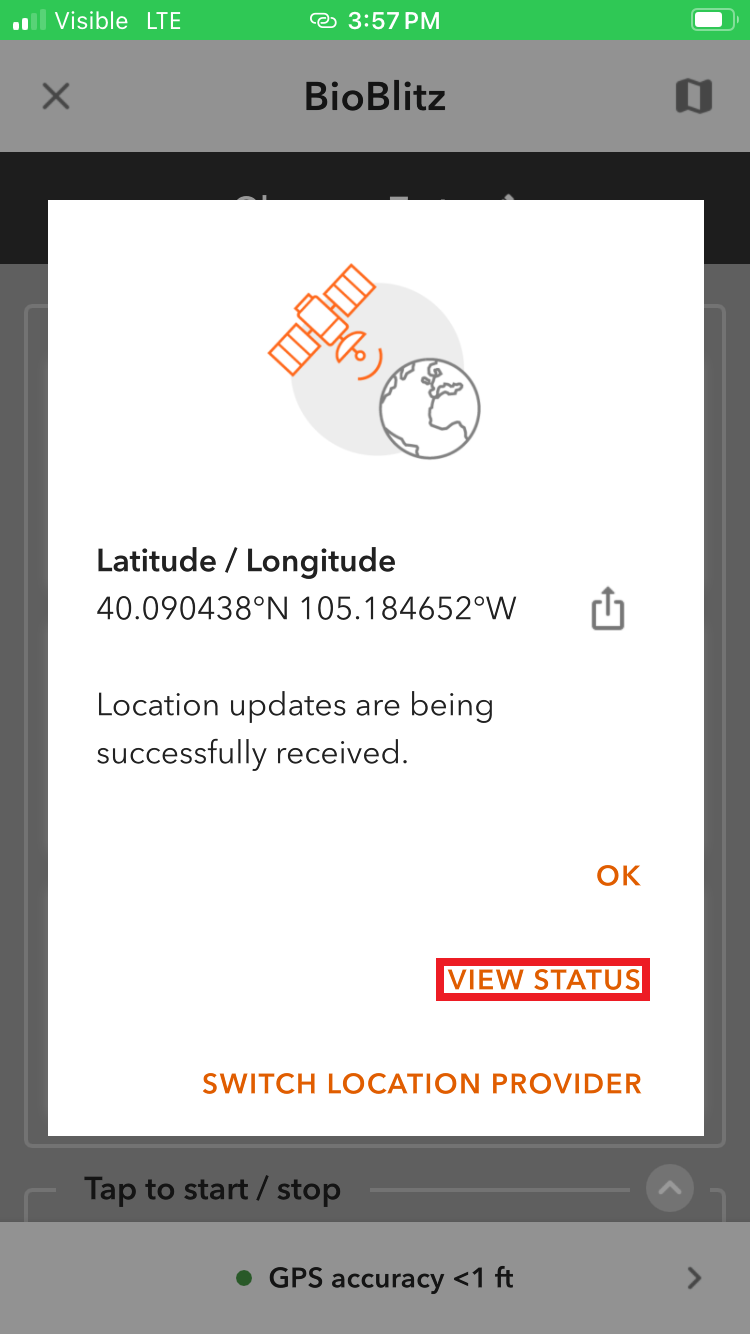
From the pop-up menu, select View Status option. From here, users can monitor the status of the position indicator. As shown below, users can monitor both the accuracy statistics and correction method.
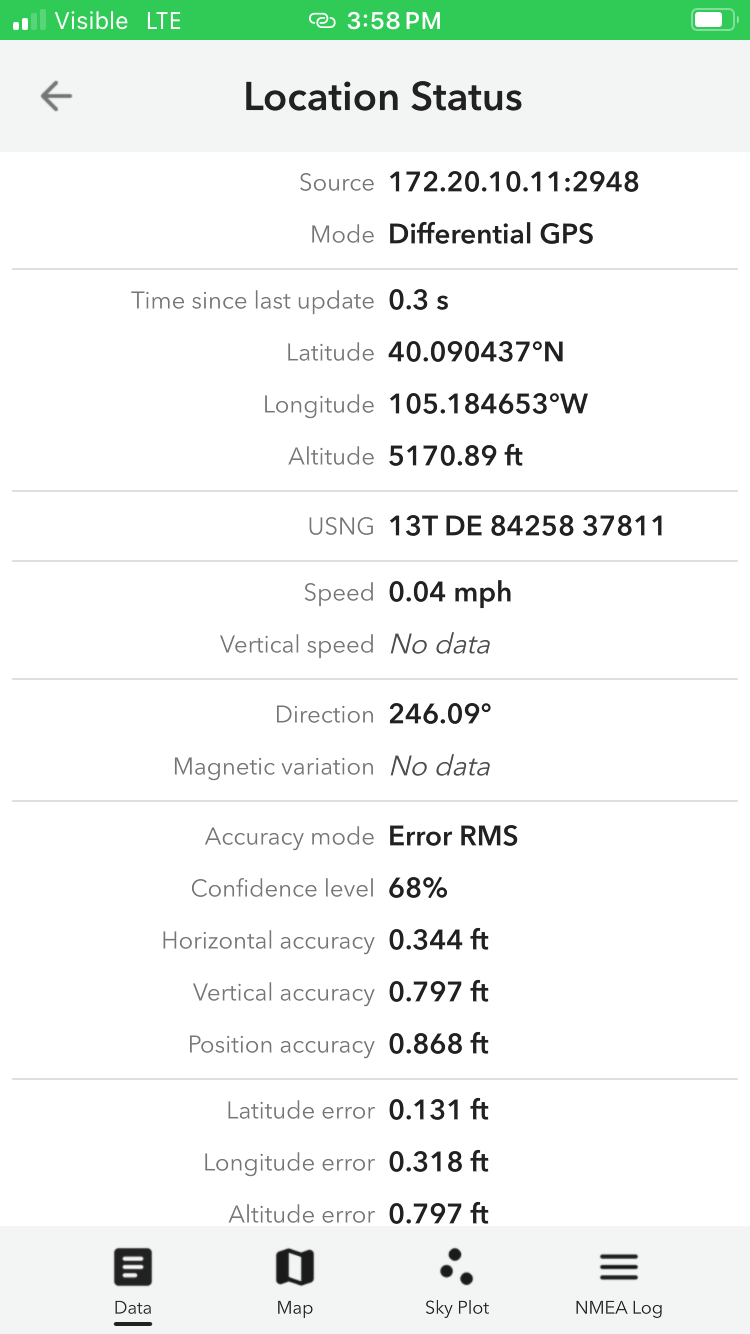
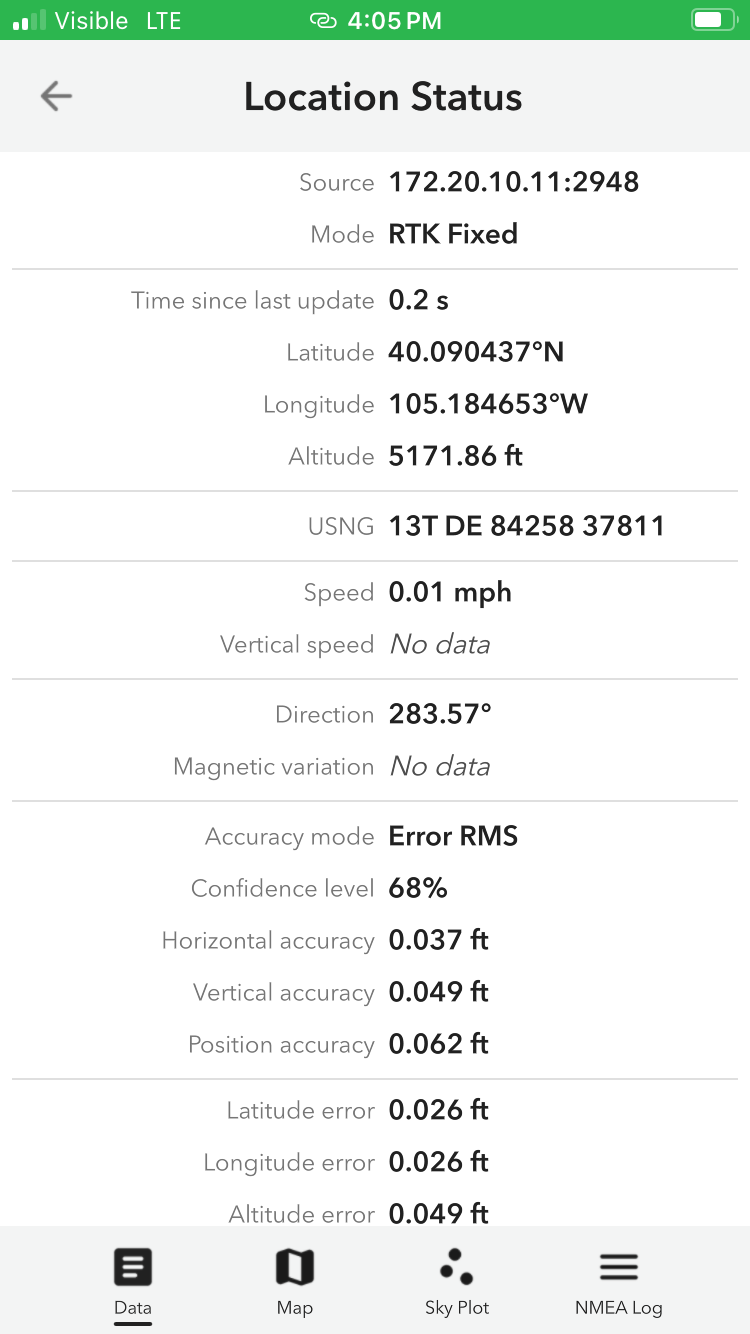
Click on the map icon, displayed on the bottom, to return to the project map.
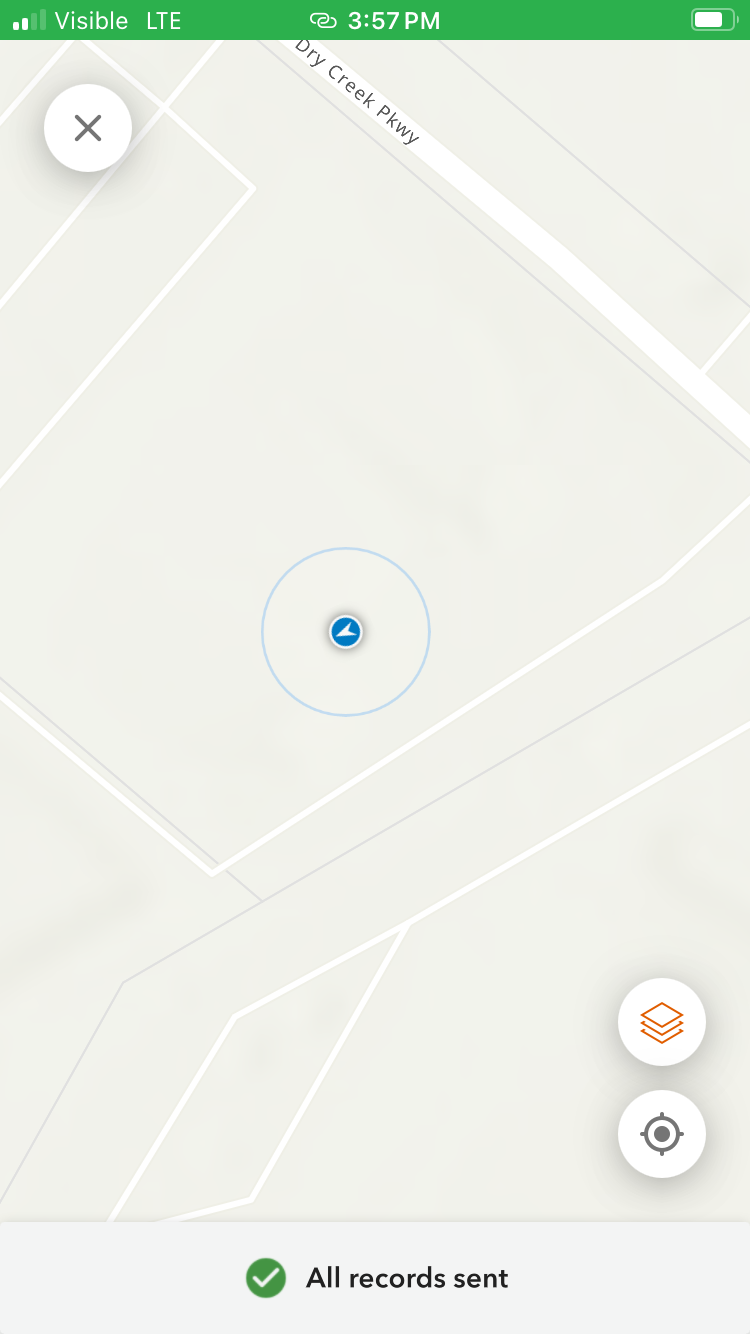
From the map view, we can see our location with very high accuracy. We can now begin gathering point information with millimeter accuracy.