Quick Start: Ethernet Setup
The simplest way to get your SXM-E up and running is to connect it to your Ethernet network or an Ethernet port on your broadband router:
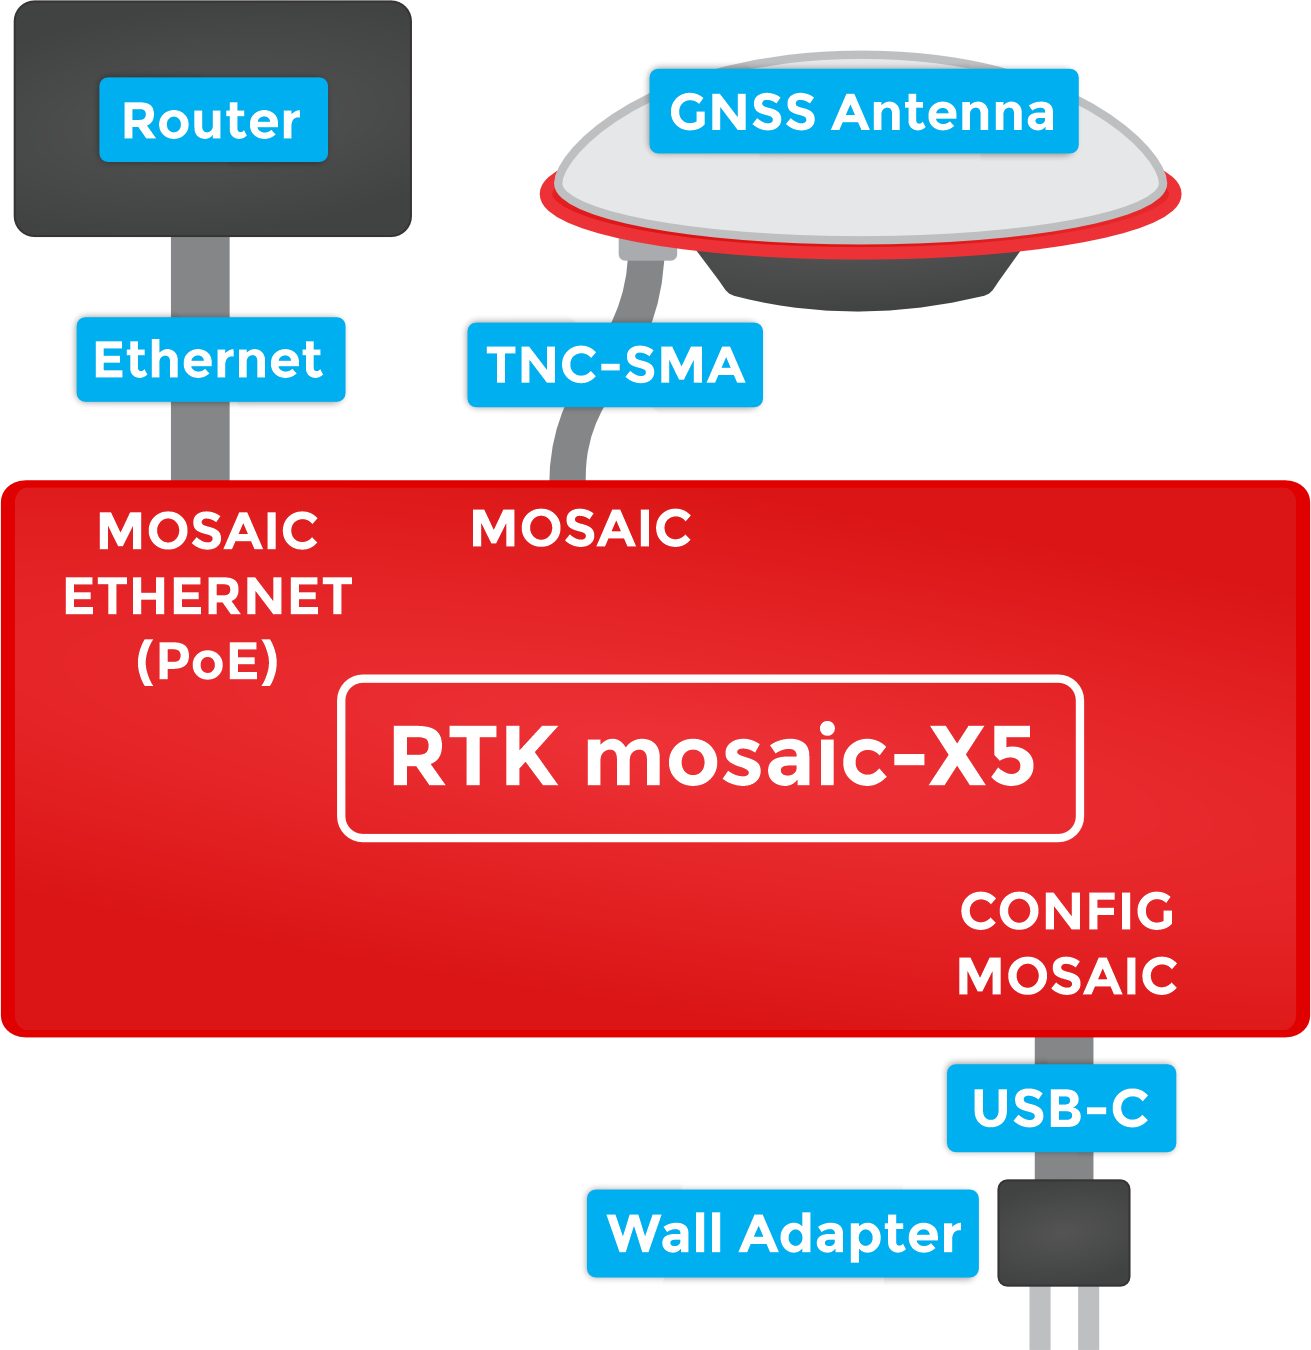
1 - Connect the GNSS antenna
- Inside your SXM-E kit, you will find the L1/L2/L5 GNSS "UFO" antenna. It has a TNC connection. Use the supplied TNC-SMA cable to connect the antenna to the mosaic-X5 MOSAIC SMA connection.
- The antenna needs a clear view of the sky. If you are working indoors, put the antenna outside and pass the cable through a window. (Insulating double-glazed windows have a coating which can block the GNSS signal. For best results, put the antenna outside.)
- If you are going to use your SXM-E as a continuously operating reference station (CORS), the antenna needs to be securely mounted to a structure so that it cannot be moved and has a clear view of the sky. Any movement in the antenna will cause inaccurate readings by RTK rovers. We recommend using our GNSS Antenna Mounting Hardware Kit or GNSS Magnetic Antenna Mount - 5/8" 11-TPI.
2 - Connect the SXM-E to your Ethernet network or router
- Use the supplied CAT-6 Ethernet cable to connect the MOSAIC ETHERNET (PoE) port to your network or an Ethernet port on your router.
- If your router provides Power-over-Ethernet (PoE), you're all set! You should see the red power (PWR) LED light up and text start to scroll up the OLED display.
- If your router does not provide PoE, move on to step 3.
3 - Provide power
- You can power the SXM-E using the supplied USB power supply (5V 1A wall adapter).
- Plug the power supply into the wall.
- Use the supplied USB-C cable to connect the power supply to either the
CONFIG MOSAICor theCONFIG ESP32USB-C port. It does not matter which. - You should see the red power (PWR) LED light up and text start to scroll up the OLED display.
Once the mosaic-X5 has acquired a satellite signal and is connected to the Ethernet network, the OLED will display: the antenna's position as Latitude (Lat), Longitude (Long) and Altitude (Alt); the Ethernet IP (Internet Protocol) network address.
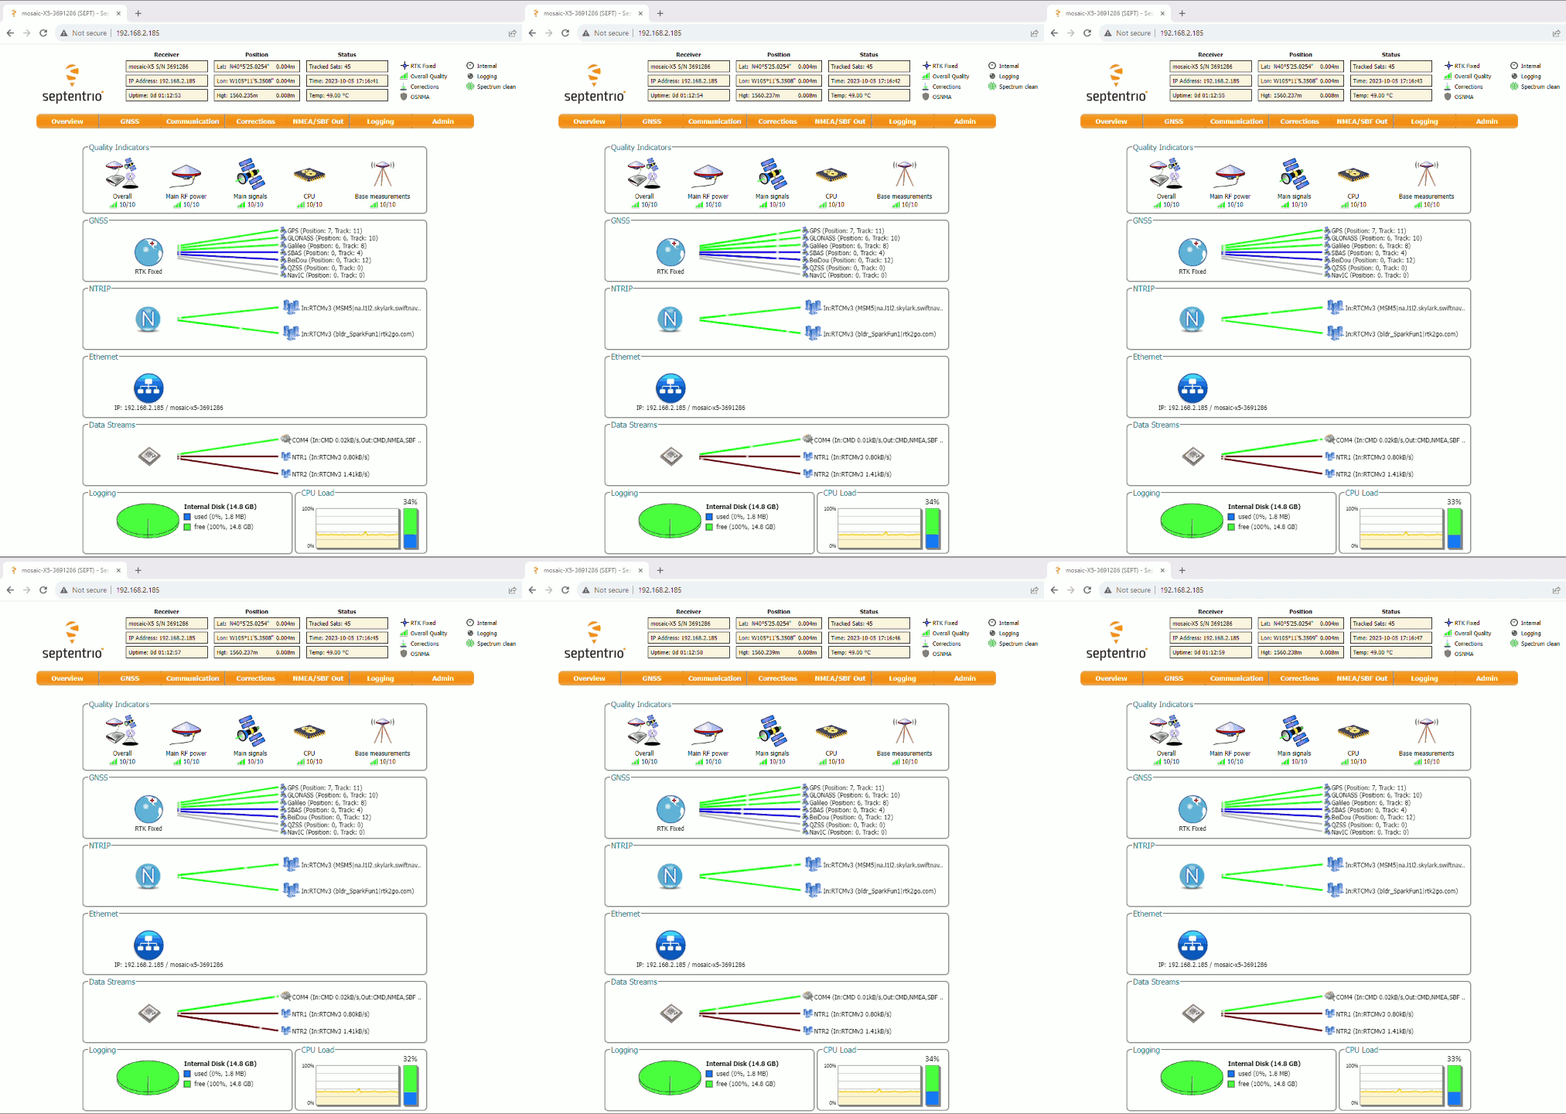
Connect your computer, tablet or phone to the same network, open a web browser and navigate to the IP address shown on the OLED display. You should see the mosaic-X5's internal web page. The web page displays a lot of helpful information and can also be used to fully configure the mosaic-X5.
The following sections will help if your SXM-E is not working as expected:
With mosaic-X5 firmware 4.15.1, a user-defined username and password are mandatory on all IP interfaces. These must be entered as described in the Log-in procedure on all IP interfaces individually and separately. The ESP32 is connected via COM. It does not need to know the username and password unless you also change default access level for the COM ports. If you do, you need to ensure the SXM-E ESP32 firmware has been upgraded to version >= 1.0.5 and that the username and password have been set using set -u and set -x
The red power (PWR) LED will light up when the SXM-E has power. If the PWR LED is off, make sure the wall adapter has power and the USB cable is connected.
If you use your own Ethernet cable for Power-over-Ethernet, check it has all eight pins connected. Some cables only have four pins connected and do not support Power-over-Ethernet.
The OLED display will only show position information (Lat, Long, Alt etc.) once a satellite signal has been acquired. If you see only an IP address on the display, check the SMA to TNC cable is connected correctly and that the antenna is outside with a clear view of the sky. Use a male-female SMA extension cable if needed to increase the cable length.
By default, the mosaic-X5 Ethernet port is configured for Dynamic Host Configuration Protocol (DHCP). It expects the router / Ethernet switch to provide it with an IP address. If the IP address is all zeros (0.0.0.0), check that your router has DHCP enabled. Most do.
If you need a static IP address, you can configure this through the mosaic-X5's Communication \ Ethernet sub-page.
Subnet 3 is reserved for the mosaic-X5's USB-C connection (Ethernet-over-USB). If your router / switch is allocating addresses using subnet 3 (192.168.3.***), please change its settings so it uses a different subnet.
If you can not see the mosaic-X5's internal web page, please check that your computer / tablet / phone is connected to the same network. Most broadband routers support both Ethernet and WiFi simultaneously using the same subnet. If you are using a phone, check it is connected to the router WiFi - and not using its mobile data connection.
Subnet 3 is reserved for the mosaic-X5's USB-C connection (Ethernet-over-USB). If your router / switch is allocating addresses using subnet 3 (192.168.3.***), please change its settings so it uses a different subnet. If it is using subnet 3, both the mosaic-X5 and your device will appear to have valid IP addresses but will not be able to communicate.
If you still can not see the mosaic-X5's internal web page, please check that the ESP32 firmware is in the correct mode. Press the RESET button to restart the ESP32 and watch the text, which scrolls up the OLED display. You should see Mode 1: Ethernet displayed briefly. If you see Mode 2: WiFi, the firmware is in the wrong mode. Follow the instructions in the next section to change the mode back to 1 (Ethernet).